“Vintage” DIY flash tray
A friend of mine, JJ Murphy, is an author. JJ held a book release party for a third book, and since the book is set in the 1920s, the party was themed the same. Of course, I was planning to shoot film.
Having shot at JJ’s parties previously, I knew there would be low light; I shot the first party with two near-period Voigtländer Bessa 66es (late 30s and early 40s) and wound up pushing Delta 3200 as far as ISO 115200. The results were very contrasty and grainy (as you’d expect), and this time around I wanted to shoot film at box speed. Which meant using a flash.
So, in the 3 hours I had, I built one.

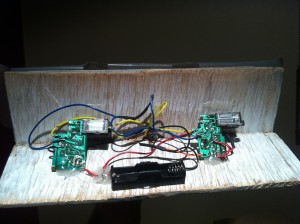
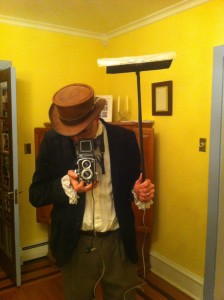
Flash trays like those above were designed to hold photographic flash powder, which was ignited while the shutter was open on a large format camera. I’m not an explosive expert. I didn’t want to set their house on fire, so I had to settle for an appropriately mockd up electronic flash. I figured that I could build a fake flash tray with the parts I had lying around the house.
So here’s how it came together. Sorry there aren’t any photos of the build process, but this was totally a rush job.
The tray itself is built out of two 2.5″ deep pieces of luan plywood, salvaged from scrap left over from our kitchen remodeling. Luan is really thin and you can’t screw or nail in to the edge, and I didn’t have time for a good epoxy to set up. So I grabbed a piece of 90 degree roof flashing and clamped the luan on the inside using two A clamps. 20 minutes to give me a basic bond.
Then I spraypainted the bottom of it black and dried it with a hot air gun set fairly low. When it was dry I spraypainted the inside (top) white and dried it the same. The white wasn’t very effective, and I could have skipped it. Obviously lining the inside with tin foil (or just using the flashing bare) would have been a better reflector, but I knew I’d have exposed circuitry in there, so I wanted the luan as an insulator.
While I was waiting for the paint to dry, I looked at four flashes that I cannibalized out of recycled disposable cameras. Even though the plastic camera bodies were the same outside, it turned out that all four flashes were different. Each of them had been modified from their original layout to work in the disposable bodies, so clearly this is typical – someone winds up ripping the guts out of old disposable bodies and hand-modifying the circuits to work in new ones. (I find this immensely cool.)
I found that a particular two of them could be wired in parallel (both power and the trigger). The other two have trigger circuits that are incompatible: one winds up triggering another connected to it, and they never charge properly. I didn’t want to waste time building trigger circuitry as an interface, so I prepared just the two flashes with new wires (yellow and blue for the trigger, red and black for power) and bypassed the “charge now” buttons (hard-wiring them to always charge).
A quick word of warning for anyone that wants to do anything similar: the big capacitor in this circuit isn’t messing around, and can hold a charge for a long time after the battery has been removed. The flash tube in these triggers somewhere around 300 to 500 volts. If you don’t know how to safely discharge the capacitors, don’t open up disposable cameras. (For more about reusing flashes from disposable cameras, take a look at the disposable camera ring flash.)
When the paint was dry, I used a dremel drill press to drill three small holes through the flashing and luan right at the apex: two for 24 gauge wires, one as a pilot for the screw that would hold on the wooden dowel handle. Then I drilled a larger hole through the pilot, and attached the handle (also spraypainted black) using a drywall screw.
 Note that flash trays were generally (always?) designed as U-shaped or L-shaped brackets. I built mine as a V – again, not quite historically accurate, but I knew I’d want to use this as a bounce flash off of the ceiling for the night, which drove the decision.
I grabbed a AA battery holder and hot melt glued the two flashes and holder in to the tray. The power connections were hard-wired to the battery holder; the trigger wires were connected to each other and then two wires put through the holes in the tray. I terminated them on an 1/8″ headphone jack just below the tray; I figured I’d use an 1/8″ to PC cable to connect it to a camera.
Finally, I taped a piece of wax paper over the top of the tray as a diffuser.
The earliest cameras I’ve got that include PC connectors are a pair of 1950s Ricoh Diacords: one G and one L (manufactured about 30 years too late, but the best I could do). Not bad.
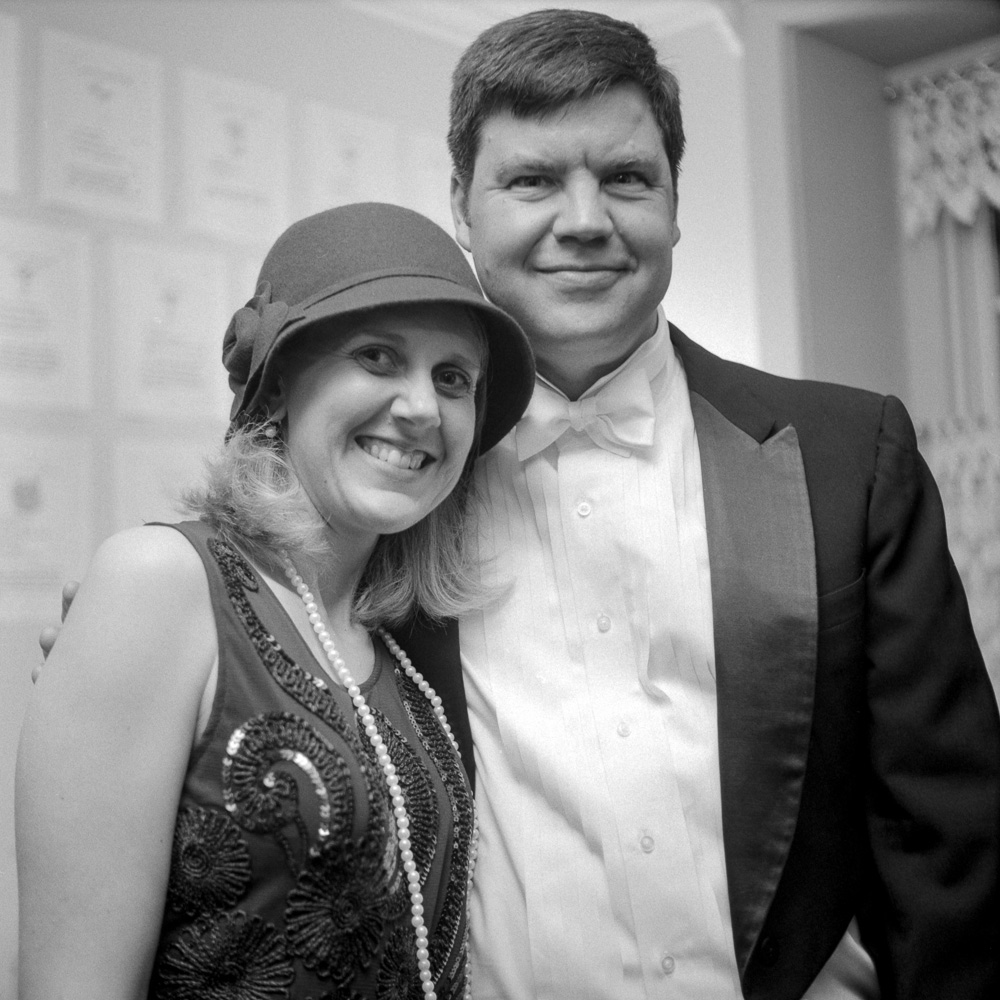
And, finally, some proof that it works: the shots here were shot on HP5+ film at box speed (ISO 400). The flash tray did a great job with its bounce flash off the ceiling, lighting the people in the background just as well as those in the foreground.
[AFG_gallery id=’2′]

