5 ways to improve your gum prints

Over the last two years of heavy experimentation with bichromate processes (gum arabic or ammonium caseinate on various papers as well as glass), I’ve had to troubleshoot a lot of different problems. These are some of my most important lessons during that process.
Change one thing at a time.
The Bichromate processes are simple. Really simple. So simple that you can change them in a seemingly infinite number of ways, and still get good prints. Which also means you can change them in a seemingly infinite number of ways, and wind up with bad prints. While I was working to understand printing casein bichromate on glass, I stopped and counted the different variables. Or at least started to: I listed 20 in my lab notebook and then stopped. I picked four of those that seemed the most likely to be my current problem, and changed them one at a time until I got my desired effect.
Keep meticulous notes.
For every print, I write down as much detail as I can. I want to be able to completely forget about printing this piece, and then pick up my notebook a year later and quickly re-learn the lessons that I learned during that printing.
Size your paper early and often.
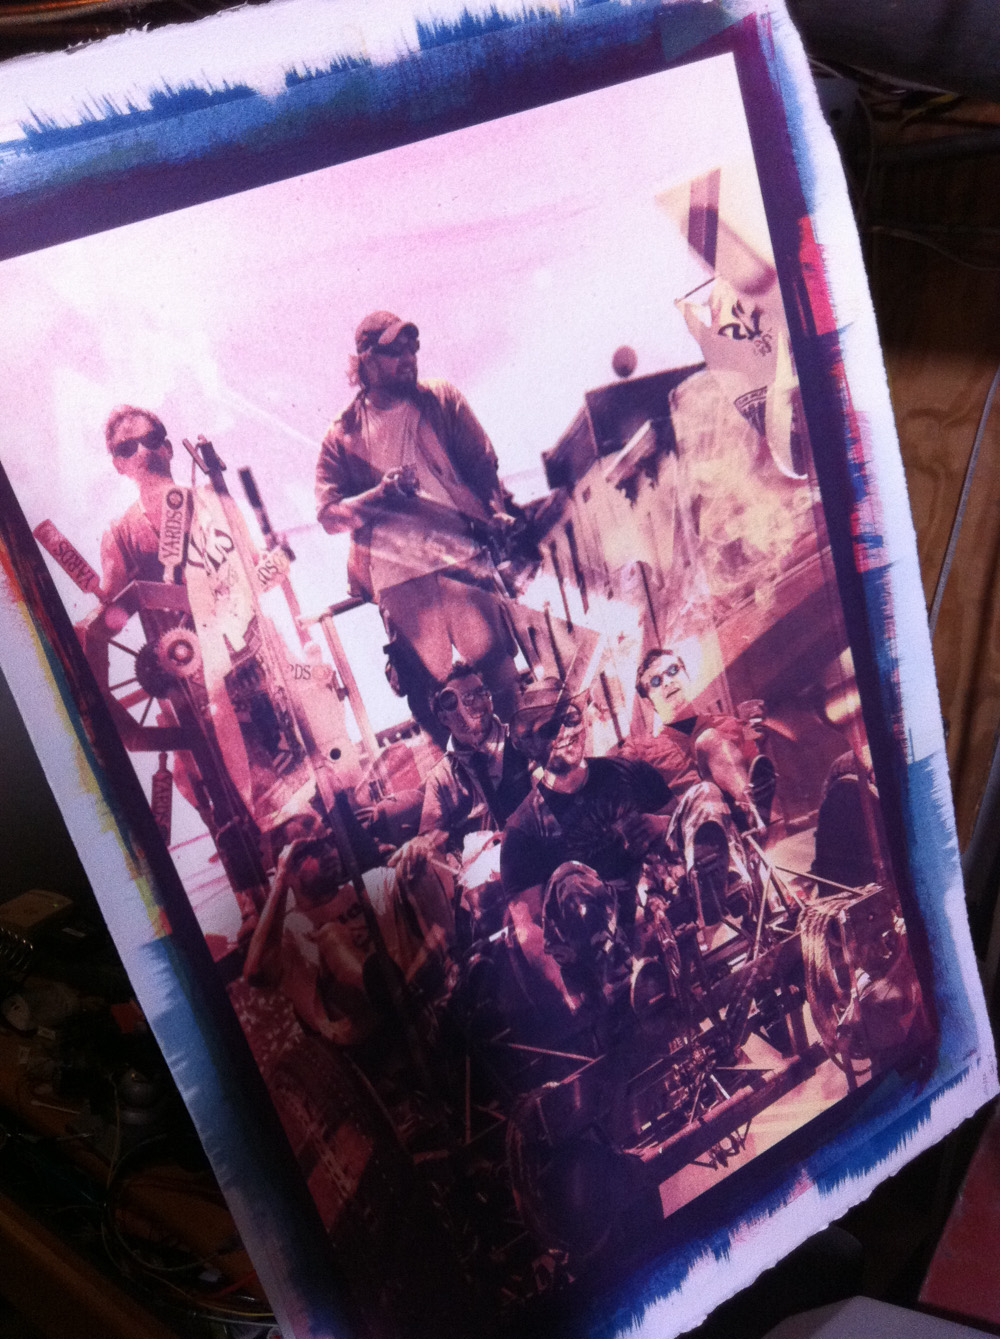
The better the sizing, the more layers you can print without staining the page. The more layers you can print, the better the blacks will be. I avoid printing with black pigment until the very end (if at all), enjoying the other deep colors that I achieve with just C/M/Y, and blacks come out of that pretty well after about 9 layers. But around layer 5, the paper starts staining with Cyan; and around layer 6, the Magenta stains as well. Knowing that, my 5th layer is usually a quick re-size with (Gambin) PVA sizing.
Cyanotype is your friend.
Using cyanotype as a base layer usually means you can skip two Cyan gum layers. It provides an excellent foundation for gum layers – a strong print to which you can easily register the other layers. There’s a trade-off, of course; this might mean less of the gum “sheen” in a final print.
Make two prints at once.
If you make two identical prints at the same time, it’s easier to learn from your mistakes. I usually prep two pages with sensitizer from the same batch; expose one, and get it soaking while the second starts exposing. After 5 minutes in the first bath it’s possible to get an idea of how well you did on the exposure – you can adjust the time of the piece that’s still exposing, if necessary. And when you make an inevitable mistake on one of the two, you can use that to experiment further in the later layers: “what happens if I use a lower concentration of dichromate on this layer? Or more pigment? Or…?” Those decisions no longer have to affect your “good” print. And sometimes I find that the experimental print, which I thought was ruined, turns out better than the “good” one!